My tips for preparing (and making a success of!) your first bivouac

Are you more motivated than ever to embark on your first bivouac experience? If you already love being outdoors, then sleeping in the middle of nature will be a revelation! Here's an article that brings together all my good advice, from a bivouac expert (and addict!), from the basic rules for finding a great bivouac spot with a view to the gear to pack in your backpack!
What are the 4 basic rules for bivouacs in France?
In France, as in many other countries, bivouacs are authorized, but subject to rules to avoid any excesses. Here are the basic rules to follow when attempting your first bivouac.
1. Set up camp between 7pm and 9am
Unlike wilderness camping, a bivouac is a camp set up for a single night in the same place. The rule of pitching your tent by 7pm and having everything tidied up by 9am applies systematically, the aim being to disturb wildlife as little as possible by our presence.
2. “Leave no trace”, leave no trace of your passage
For me, this is the most important rule, because nature shares its beauty with us and we must respect it. When you’re bivouacking, it’s essential to take all your garbage with you , and to make sure your passage isn’t visible…which naturally leads us to the next rule.
3. Don’t build a campfire
Although we tend to associate bivouacs and campfires with the aesthetics of American TV series , this practice is a disaster for the environment. It takes more than 10 years for the earth to regenerate after a fire.
What’s more, with consecutive years of drought, more and more fires are starting as a result of a poorly extinguished campfire. And I’m not talking about the risk of wind-blown embers igniting your tent… What’s more, it’s an obvious nuisance for the chamois, ibex and other wild animals that live in this environment.
4. Respect the peace and quiet
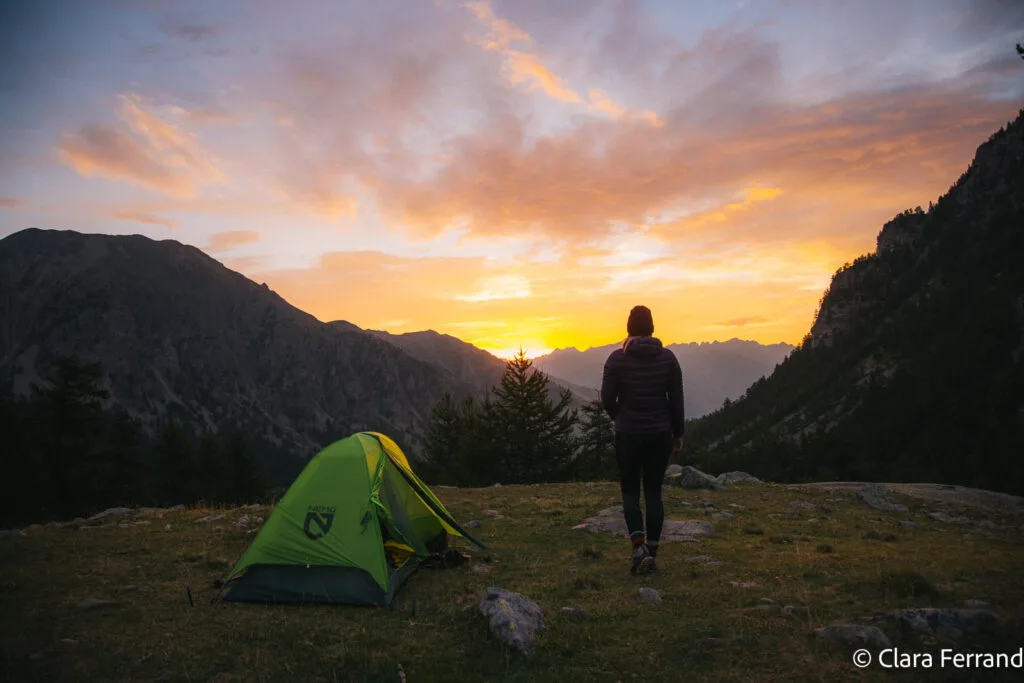
I’ll end this reminder of the fundamental rules with what makes the most sense to me: you’re here as a guest, so please respect the surrounding calm when you bivouac. Don’t shout or bring a loudspeaker with you. Take this moment to admire your surroundings, listen to the sound of the marmots squabbling, imprint the sunset on your retinas…
Comment soutenir La Sportive Outdoor?
L'une des façons de nous soutenir est de faire vos achats via nos sites partenaires.
L'idée n'est évidemment pas de vous pousser à la consommation: n'achetez que ce dont vous avez besoin mais, lorsque vous le faites, passer par nos liens nous aide car nous touchons ainsi une petite commission sans aucun coût supplémentaire pour vous.
Vous pouvez par exemple en ajouter certains en favoris pour vos prochains achats. Pensez à accepter les cookies de nos partenaires dès l’arrivée sur leur site.
- i-Run: jusqu'à -50% pour les Running Weeks
- Ekosport: -20% extra sur les nouveautés rando et bivouac
- Intersport: des offres sur la randonnée (notamment)
- Muule: 15% de promo avec le code VIP15
- Decathlon: pas mal de bons plans
- Lyophilisé&Co: lyophilisés, nutrition sportive et matos de bivouac
Pour plus de façons de nous soutenir, c'est ici.
How to relieve yourself in nature?
Sharing my bivouac experience on social networks, I realized that the question of relieving oneself in nature was a big issue for most people, so here’s a little guide to the right gestures:
- Whatever the need, once you’ve done it, don’t throw your toilet paper on the floor. It won’t disappear by magic and will take years to decompose. Good morning, good morning odours and visual pollution for future hikers….
- Do the right thing and bring along a small 5 or 10L garbage can bag specially for this type of waste.
- Don’ t relieve yourself near a stream or, worse still, in a lake, as this will make the water unfit for consumption. If you’re bivouacking, you’ll be the first to be glad you have a source of drinking water.
- Likewise, it’s best to stay off hiking trails so as not to leave any “presents” in your wake.
- For the big job, find an out-of-the-way spot – behind a tree or large rock, for example – then cover your bundle with a stone or leaf. It’s even better if you can make a hole and cover it up.
How to find a great bivouac spot?
Before you set off, proudly carrying your house on your back, you’ll need to decide on an arrival point, where you can settle down for the night and enjoy nature.
Find a hiking route
Start by looking for a hiking itinerary. To do this, you’ll need to define your level, bearing in mind that with a bag weighing around 10kg on your back, you won’t be making the same effort as when you set off on a day trip. For example, a 2-hour hike with between 300 and 500 m of ascent is already a good start to familiarize yourself with the weight of your pack.
Then define a geographical area, preferably close to where you live. However, if you live in a big city, escape for a weekend to the mountains. It will be easier to find an authorized spot where you’ll feel safe.
Hiking apps such as Visorando or Altitude rando , to name but a few, are mines of information. All you have to do is define the hiking level and location to access a list of potential hikes. Then look at the description and comments to see if there’s a good place to pitch your tent.
Places to avoid when bivouacking
- Private plots, often indicated by “private property” signs
- Sensitive and protected natural areas, Natura 2000 and other types of distinction.
- Some national and regional parks have their own rules. For example, the Vanoise National Park only authorizes bivouacs around refuges. It’s important to check with the tourist office or park office beforehand to find out about any specific rules or prohibitions in a particular area.
- Don’t set up camp in a grazing area, even if the herd isn’t present but you see a lot of animal excrement. Herds sometimes move in the early morning or at night, and you could wake up surrounded by cows.

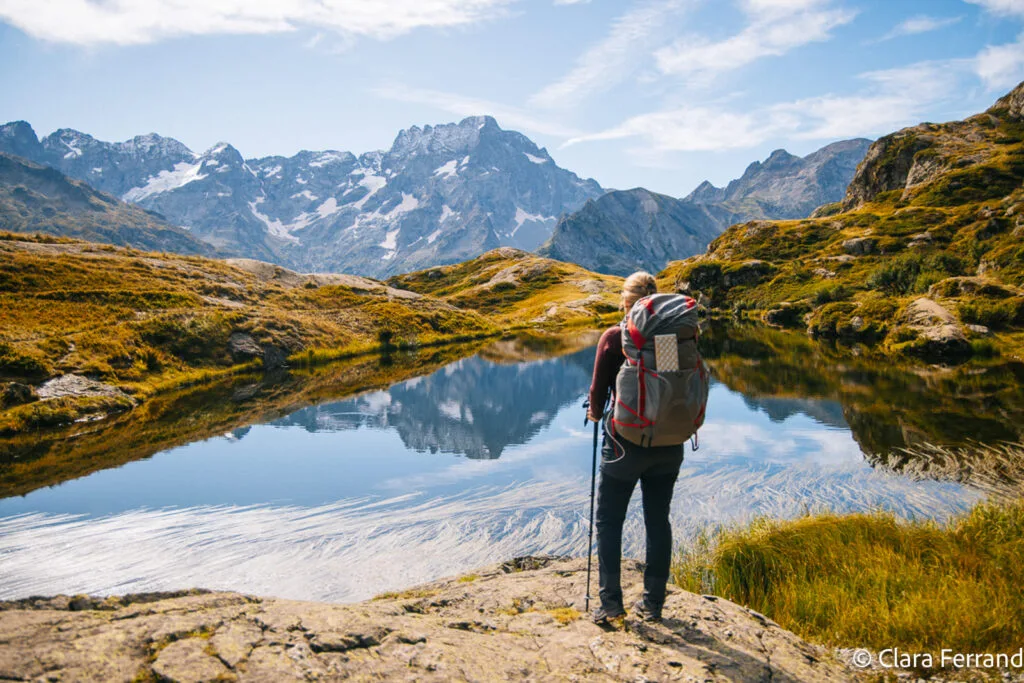
Which backpack to choose for your adventure?
You’ll need a backpack of at least 40L to carry all the essentials for sleeping outdoors. Generally speaking, I use a backpack between 45 and 50L to be comfortable in terms of capacity, but the size of the bag will also be determined by your height (I’m 1m75). My tips for adjusting your backpack:
- Try out your backpack before setting out on your adventure, especially if a friend has lent it to you, as it will be adjusted to her body type and not yours.
- Make sure the bag rests on your hips , not your shoulders. To do this, check the back of the bag to see if you can adjust the distance between the shoulder straps and the abdominal strap. Then tighten the abdominal strap so that you feel your hips supporting you.
- The backpack shouldn’t get in the way of your gait: if it feels low on your buttocks, make sure it’s at your waist or that you’ve tightened the straps.
Pro tip
Organizing the inside of your bag is important in terms of weight perception: heavy things should be placed at the bottom of the bag and on the sides, and light things on top.
If you put too much weight on the top of the bag, you’ll feel a force pushing you backwards, pushing on your shoulders and making it difficult to climb. The weight of a bivouac bag varies between 10 and 13kg.
What to pack in your backpack for a night out?
Let’s take a look at the contents of your backpack. A beginner’s biggest mistake is to carry too much, because she tends to carry her fears (fear of being cold, so too many clothes; fear of lacking hygiene, so a home toiletry kit; fear of being hungry, so 1kg of pasta…). So here’s a list of the essentials to take with you on a bivouac, nothing more, nothing less.
What’s my sleeping kit for a good night’s sleep outdoors?
Bivouac equipment is very expensive, so before investing, it makes sense to borrow or rent equipment for the occasion. Les Petits Montagnards, for example, offers bivouac packs including all the equipment you need to rent for your adventure.
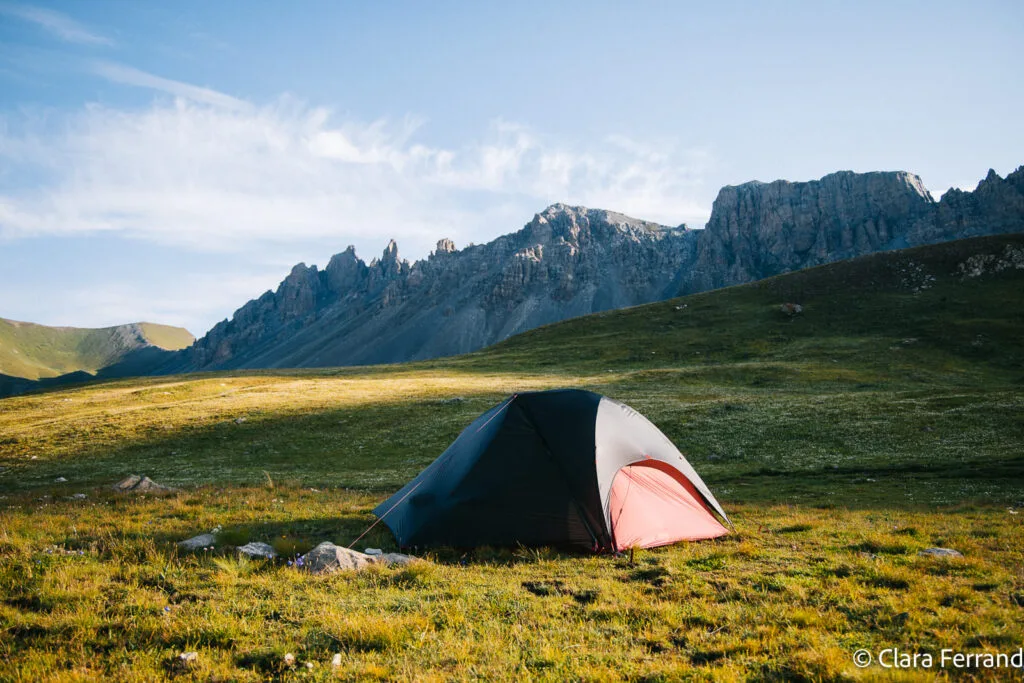
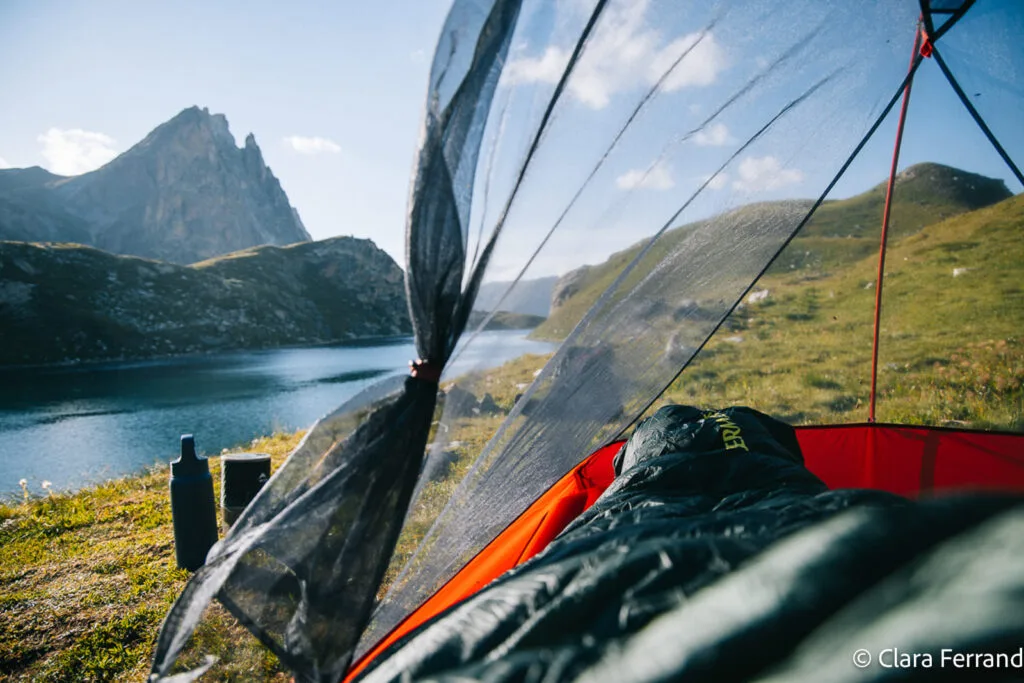
A bivouac tent
There are different types of bivouac tent: freestanding, tunnel, dome, etc. The main thing is to choose a tent weighing no more than 2.5kg for two people.
I have two freestanding models from MSR, the Hubba Hubba NX (1.72kg ) and the Freelite 2-person (1.06kg).
A comforter
When you buy a comforter, you’ll see 3 temperatures listed. The only one you really need to take into account is the comfort temperature; the other temperatures are an indication of your survival.
For a first bivouac comforter, I generally recommend a 0° comfort comforter, versatile to all climates in mainland France, such as Thermarest Hyperion 32F/0C and Sea to Summit Sparks -1° (with a version adapted to women’s anatomy).
Inflatable mattress or floor mat
The mattress insulates you from the ground: it’s just as important as down, if not more so. To start with, a floor mat might do the trick, but after that I’d advise you to invest in an inflatable mattress, taking into account the R-Value. This is a standardized value that indicates thermal resistance to cold and is indicated on all mattresses.
Mine is the Thermarest Neo Air x lite NTX mattress, which has an R-value of 4.5, suitable for all 3 seasons.
Optional: inflatable pillow
It’s that little extra for a good night’s sleep. Mine is the Aero premium regular pillow from Seat to Summit.
My clothes for sleeping outdoors
This list can be adapted according to current temperatures and bivouac location. I’m used to bivouacking in the mountains, and therefore to big temperature differences between day and night, but on the plains you can adapt it to your needs.
For the day
As you walk to your bivouac spot, remember to make the most of the 3-layer system: one breathable, one insulating and one windproof/waterproof. Remove or add layers according to how you feel, but don ‘t wait until you’re too hot or too cold. I always pack something waterproof because the weather is unpredictable and it can get wet.
- hiking pants
- a long- or short-sleeved T-shirt, depending on the weather
- a waterproof windbreaker
- a down jacket or fleece
- a pair of anti-chafing socks(Quechua double socks, for example)
- a pair of hiking boots
- comfortable underwear
For the evening / night
As soon as the sun goes down, temperatures cool down: it’s important to have something to change into once you’ve set up camp. It would be fatal to keep wet clothes on you, as your body will cool down and it will then be more difficult to warm up. In the mountains, the difference in temperature between the peaks and the valley is very great, especially in summer, so a hat and gloves won’t go amiss.
- thermal merino wool underwear (tights and tee-shirt)
- a pair of warm socks
- a neckband
- a cap
- a small pair of gloves

My toiletry and first-aid kit
For one night, try to be minimalist and don’t take the whole tube of toothpaste. Added together, these items will end up weighing down your bag:
- solid toothpaste or lozenges
- a solid deodorant
- a folding hairbrush
- one or two analgesic tablets (such as Doliprane)
- disinfectant-soaked compresses
- small scissors
- a few standard dressings and possibly a second skin for blisters
Essential accessories
- a pair of walking sticks
- a headlamp (with battery or charged battery)
- a small roll of toilet paper
- a garbage bag
- Opinel-type knife

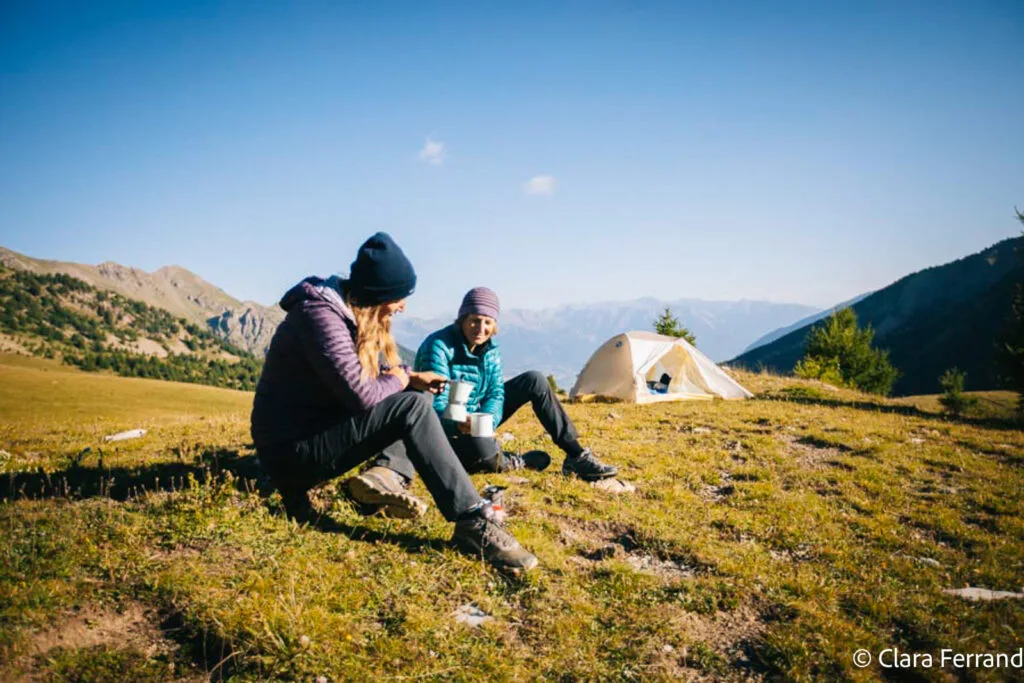
How to cook on a bivouac? Stoves, recipes and energy intake
Ensuring a sufficient supply of energy through food is one of the essential elements for feeling good in a bivouac. Hiking stimulates the appetite, and when night comes, you sleep better on a full stomach. Cooking on a bivouac is an art in itself, and you have to take into account the constraints associated with preparing food outdoors: prepare the simplest food possible, while enjoying yourself at the same time!
How do I use a stove for cooking?
The stove is the centerpiece of your cooking kit. There are several types of stove (gas, wood, alcohol…) to suit all budgets. For your first bivouac, you don’t need a top-of-the-range stove like a Jetboil, but a simple stove head with a light popote from Decathlon will do the trick.
Beware of compatibility
Before setting off on a bivouac, make sure your stove has a nozzle compatible with the gas bottle you’ve purchased. Bivouac stoves often work with a screw thread.
Freeze-dried or customized, what to cook in a stove?
Lyophilized products are dehydrated dishes prepared and packaged in individual sachets. To eat them, all you need to do is heat water in a saucepan. This eliminates the need for washing up, and means you don’t have to waste too much time preparing a menu. The downside is the relatively high price of a sachet and the waste it generates.
For gourmets, the search for dishes suitable for quick cooking upstream will be a great exploration. As far as I’m concerned, I like to vary 3-minute pastas with different sauces and cheeses. Semolina is also an ally when it comes to preparing tabbouleh or other semolina-based dishes. I also like to cook polenta with herbs and dried mushrooms.
In short, get creative with quick-cooking starches. For breakfast, a muesli with a cup of tea will help you get the day off to a good start.

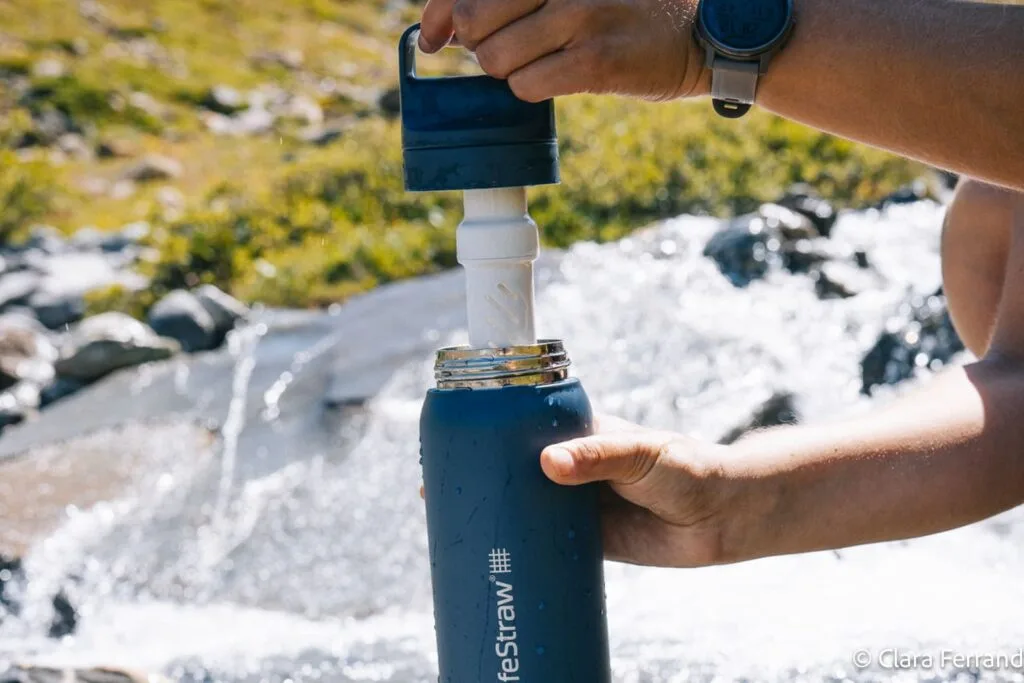
How to manage water consumption when bivouacking?
We tend to underestimate our water consumption during exercise, but it’s vital to stay well hydrated, especially to avoid muscle soreness.
When choosing your itinerary, it’s important to find out in advance whether there will be a water source at your campsite. This could be a lake or a stream, but make sure it is not polluted by humans or animals.
Should I choose Micropur tablets or a filter gourd ? To be on the safe side when drinking water in the great outdoors, you can treat your water. Micropur tablets can be found in outdoor sports stores or pharmacies: they can be added to a quantity of water to treat it. The disadvantage is that you have to leave the tablet on for a while, and then consume the water as soon as possible.
The filtering gourd is the way I’ve chosen to make sure I don’t get sick from water during my adventures. The filter is attached directly to the gourd from which you regularly drink. Always allow at least 1.5L at the start of your hike-bivouac, as this will provide you with a sure-fire supply of drinking water.
Once you’ve soaked up all this good advice, it’s time to set off on your adventure! If you still have any fears that prevent you from taking the plunge into your first bivouac, don’t hesitate to get in touch with more experienced women in the hiking groups on our social networks or in our La Sportive Outdoor Facebook group. Enjoy your bivouac!
This article contains affiliate links.