How can I prevent and avoid blisters on my feet? My tips
Blisters, those little swellings that can literally ruin your life when hiking or trail running... Once they're there, they can quickly become complicated to treat, so the best thing to do is to anticipate and avoid them. In this article, I share with you the tips and tricks that have (finally) enabled me to hike serenely without blisters!
A hiker’s and trailer’s worst enemy
Blisters, or phlyctenes, are blisters formed by repeated rubbing of the foot. against the shoe or the toes between them. This is clearly the worst enemy of hikers and trail runners, and unfortunately I know something about it. Some skins are more prone to it than others, and I’ve had some really tough times with blisters, even wondering if I wasn’t going to stop hiking for several days because I was in so much pain each time.
It’s amazing how painful a little thing like this can be when you have to walk on it! What’s more, it can become infected and cause even more problems. In other words, it’s a subject that really shouldn’t be neglected!
Several months before – Choosing shoes and socks
Choosing and making shoes
The obvious but essential tip: you don’t set off on a long hike or trail run in new shoes – they’re non-negotiable! Make sure you get them right for your feet, by doing short outings and then lengthening the distance before considering setting off for longer distances or over several days.
And don’t forget the size of the shoe (neither too big nor too small), bearing in mind that the foot swells during exercise. We therefore often take a 1/2, 1 or even 1.5 sizes larger than our usual shoe size (depending on the model, it’s a good idea to try this out, especially at the end of the day when the foot is swollen).
Also remember to walk in your shoes, ideally on the same type of terrain as you will: I have a pair of shoes that work great in the mountains but hurt me on the flat, probably a question of the position of the foot in them depending on the profile…!
Finally, bear in mind that you may not get a blister when running in a pair of shoes, but you may get one when walking in the same pair… The movement is different, so test first!
Comment soutenir La Sportive Outdoor?
L'une des façons de nous soutenir est de faire vos achats via nos sites partenaires.
L'idée n'est évidemment pas de vous pousser à la consommation: n'achetez que ce dont vous avez besoin mais, lorsque vous le faites, passer par nos liens nous aide car nous touchons ainsi une petite commission sans aucun coût supplémentaire pour vous.
Vous pouvez par exemple en ajouter certains en favoris pour vos prochains achats. Pensez à accepter les cookies de nos partenaires dès l’arrivée sur leur site.
- i-Run: jusqu'à -50% pour les Running Weeks
- Ekosport: -20% extra sur les nouveautés rando et bivouac
- Intersport: des offres sur la randonnée (notamment)
- Muule: 15% de promo avec le code VIP15
- Decathlon: pas mal de bons plans
- Lyophilisé&Co: lyophilisés, nutrition sportive et matos de bivouac
Pour plus de façons de nous soutenir, c'est ici.

Opt for double-skin socks
Just like shoes, you can’t wear just any sock, and you have to test them several times before you set off! Pay close attention to their size, as socks that are too big can wrinkle and cause rubbing. Even though I wear size 39-40, I always buy size 38 socks because they fit so well… You really have to try.
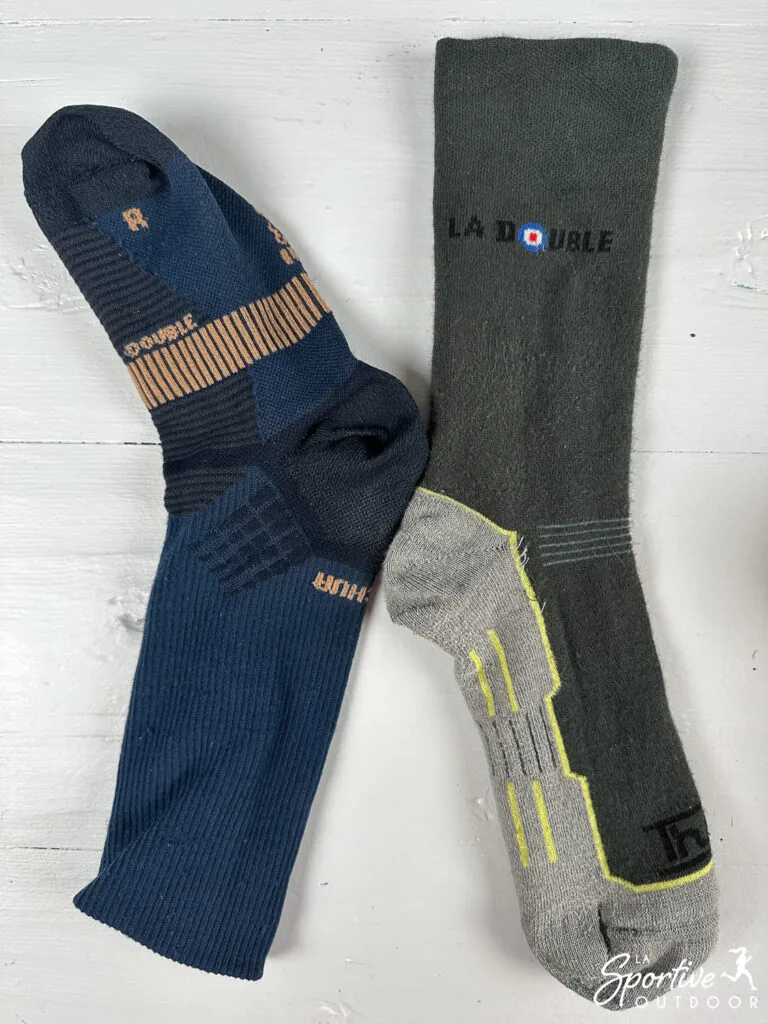
In all cases, choose technical socks specially designed for hiking or trail running , and if you’re prone to blisters, opt for double-skin socks (sometimes called anti-blister socks, by the way). The idea is to have two layers of socks (as if you were wearing two pairs, but I find it more practical to have a double-skin pair as it’s easier to avoid rubbing) that rub against each other, and avoid it being your feet that rub.
I’ve got Decathlon’s Hike 520 Double for hiking, which I’m happy with, but you can also find them from lots of other brands, like the Double trail sock from Sidas.
Personally, this has helped me a lot, but beware, it’s not miraculous either, so I really advise you to also opt for foot preparation as explained in the rest of this article.
4 weeks before – Pedicure appointment
A visit to the pedicurist can be a really useful way of “refurbishing” your toes (more or less depending on your feet, but I advise you to go at least once to see what the pedicurist has to say). If you have a lot of calluses, for example, don’t think that this will protect your feet, quite the contrary: they can quickly lead to blisters and it’s best to have them removed before hiking.
Anticipate!
Remember to think ahead: a visit to the podiatrist will make your skin look like new, but you need to give it time to strengthen again. Make an appointment about a month before your hike or run.
3 weeks before to D-day – Tanning and moisturizing
Objective: resistant skin
These treatments have finally enabled me to go hiking for weeks without a single blister! If you have feet that are prone to blisters, this little prevention protocol requires a little forethought, but is in my opinion indispensable. Don’ t tell yourself that you’ll be fine without doing anything, because you won’t be, and you’ll bitterly regret it when every step hurts…
3 weeks before, I advise you to apply the following protocol to strengthen the skin of the foot by making it more resistant. We sometimes tend to think that our feet should have thick, hard skin, but that’s not the case at all! On the contrary, it’s important not to make the skin thicker, but more resistant, and to keep it supple, so as to avoid the formation of calluses which can themselves turn into blisters… It’s a little counter-intuitive, but it’s the key!
A few minutes in the morning and evening
Don’ t neglect the two treatments , as tanning alone would weaken the skin, and moisturizing is super-important for supple feet:
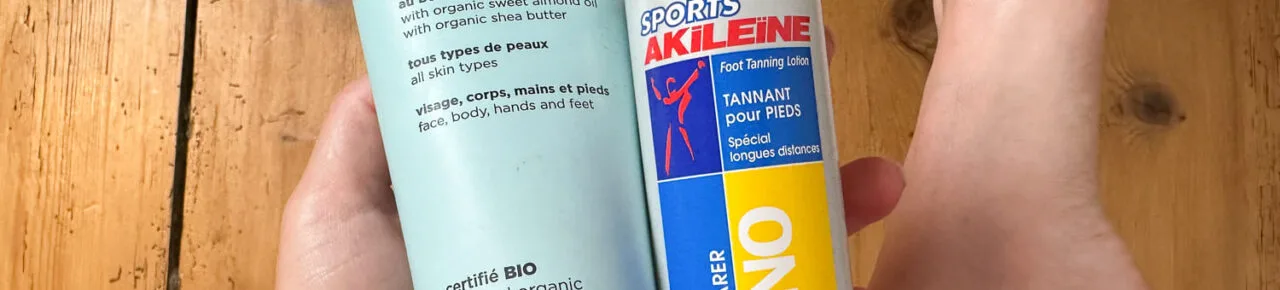
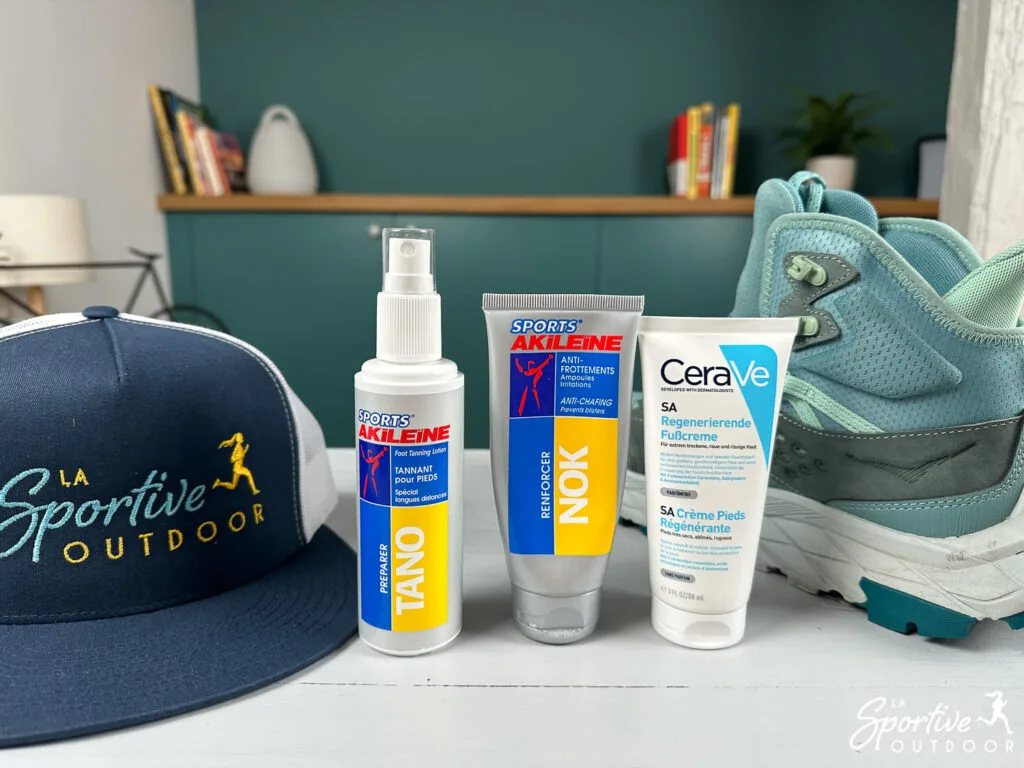
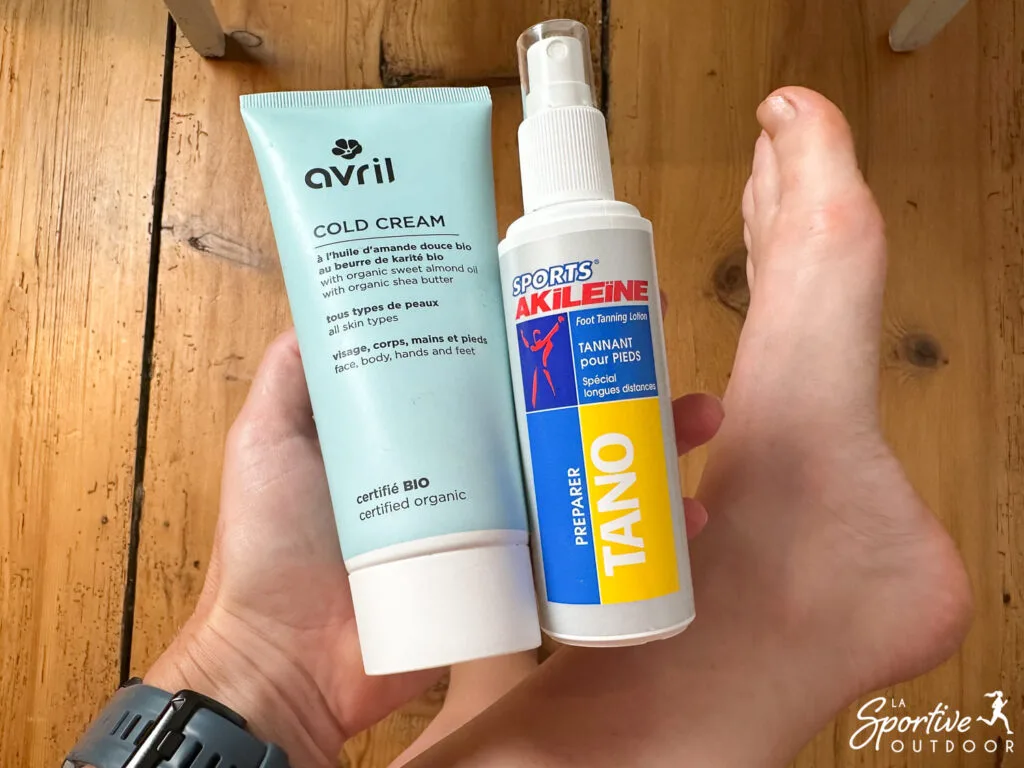
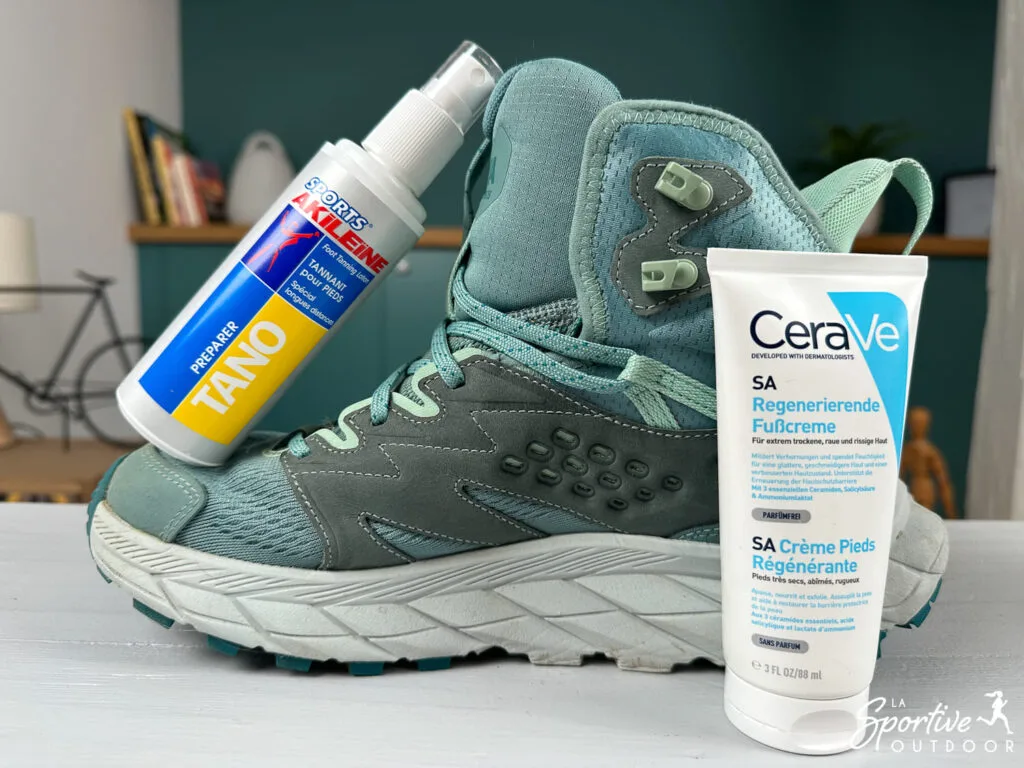
- In the morning, tan the skin of the feet by applying a tanning lotion(Akileïne’s TANO lotion, for example) or, for a more natural solution, lemon juice (citric acid is the active ingredient).
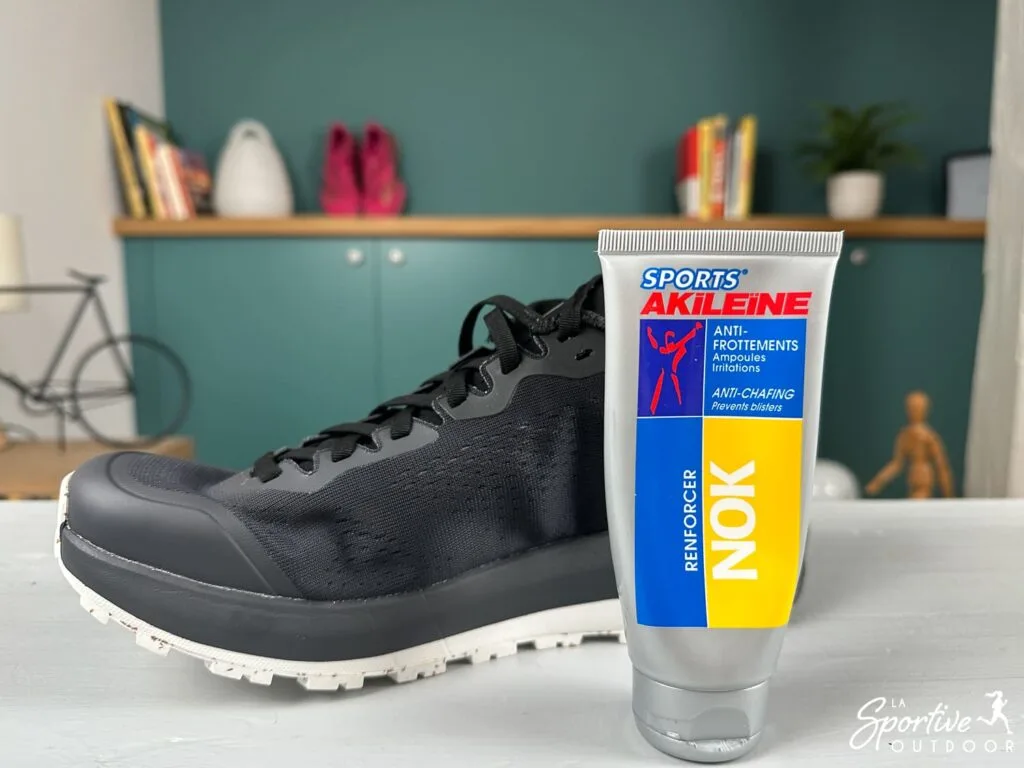
- In the evening, apply moisturizing cream. You can opt for an anti-chafing cream(Akileïne’s NOK cream, which can also be used for prevention) or another cream. I like shea butter-based creams (Akileïne’s nutri-repairing foot cream, for example), but I’ve also tried CeraVe’s Regenerating Foot Cream, which is good too. In fact, take whichever you like, as long as it’s rich enough (opt for creams for very dry feet, even if you don’t feel your feet are particularly dry).
A few days before your hike or trail run, you can stop tanning, but be sure to keep the moisturizer on at night. This moisturizer will become your best friend, you’ll see 😛
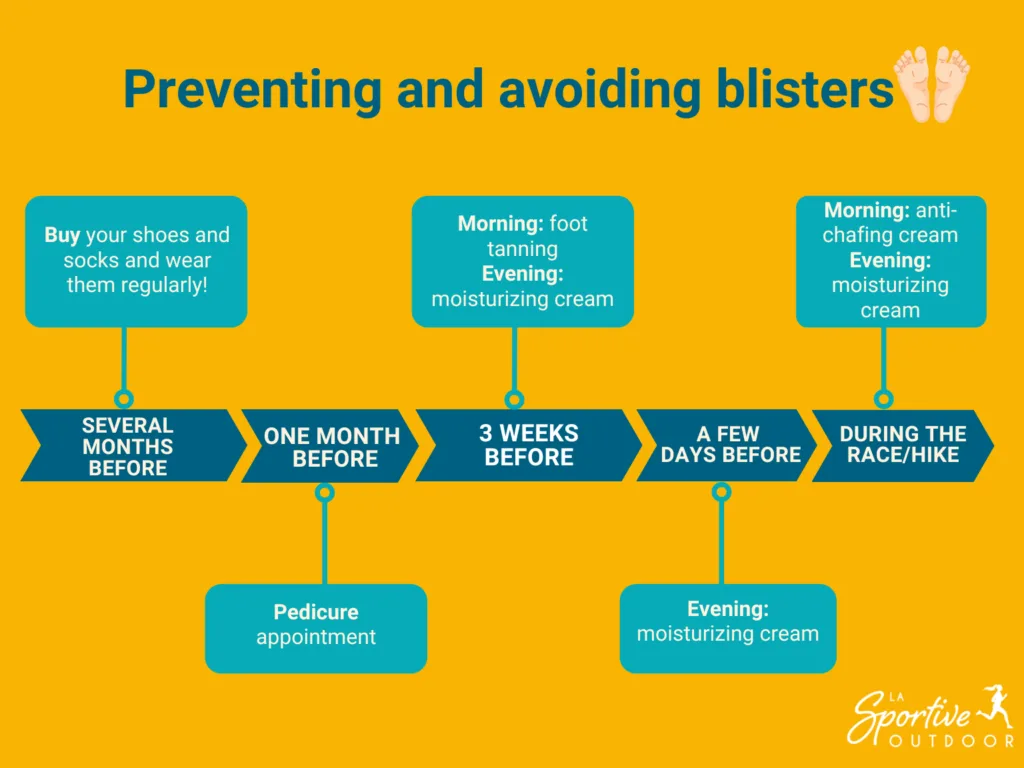
During the hike/run – Anti-chafing cream, aeration and hydration
During the hike, here’s what I recommend you do:
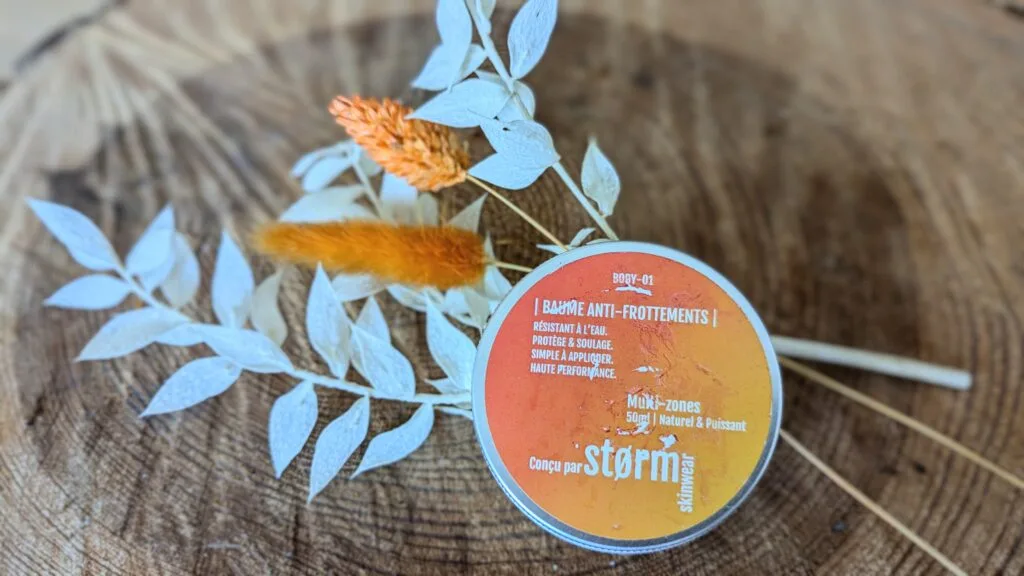
- In the morning, apply a generous dose of anti-chafing cream (such as Akileïne’s NOK or, for a more natural solution, Storm Skinwear balm) all over the foot, including between the toes(without massaging too much – the idea is not for everything to penetrate, on the contrary!), before putting on your socks, taking care not to crease them.
- At lunchtime/break times, remove your shoes and socks to allow your feet and socks to air out and dry. Reapply a layer of anti-chafing cream before setting off again. And if your socks are still really wet, change them.
- In the evening, after showering and once feet are clean and dry, apply moisturizing cream. And don’t hesitate to apply more at night before going to bed – better too much than too little in this case 😉
For trail running, apply cream in the morning and, if you’re setting off on a very long distance, reapply along the way and change your socks.
Watch out for the terrain!
If your hike takes place on sandy ground, don’t use cream in the morning and/or at lunchtime: with the sand, it would literally give you a scrub that clearly wouldn’t do any good!
What if the light bulb starts?
During the day, if you start to feel the slightest sensation of overheating, stop and assess the situation 😉 NEVER tell yourself that it will go away, it always gets worse if you don’t do anything about it, trust my long experience 😛 And it’s easier to prevent than to cure, so stop and look:
- If you start to feel a little warm (slightly reddened skin) or a very slight blister, I advise you to reapply a generous dose of anti-chafing cream and adjust according to how you feel over the next few minutes.
- Either that’s a relief, or we’ve won! We’ll keep on doing it, and we’ll keep putting it back there.
- Either this didn’t help, in which case you’ll need to quickly protect the area with tape (such as K-tape, which you’ll need to round off by cutting off the corners).
- If there’s already a “real” blister formed, you’ve stopped too late. I’ll be doing another article on blister care, as it’s yet another topic!
Why don’t I recommend the use of anti-blister plasters?
I used to think it was the easy, ideal solution. You apply it, it relieves and forms a second skin, problem solved, great! In fact, I realized that in many cases it didn’t relieve the problem, and often made it worse! I never use it anymore for two reasons:
- If the blister is placed in a slightly complicated area (such as between the toes), even if it looks as though the dressing has been well applied, in many cases the friction will still cause the dressing to move a little and form rigid, sharp edges… Painful and leading to further blisters!
- The material of the bandage really blends with the skin, especially under the effect of heat. If you want to remove it because it’s painful, or if it simply starts to come off on its own, it rips off all the skin at once, leaving you with bare skin, which was really what you wanted to avoid in the first place!
Yes, I’m talking about experience in both cases…