Dismantle your bike to take the train – Complete tutorial + video
Wearing a bike cover is essential for stress-free rail travel throughout Europe. It's important to dismantle it correctly and take a few precautions. Here's a detailed guide to help you do just that.
Video tutorial
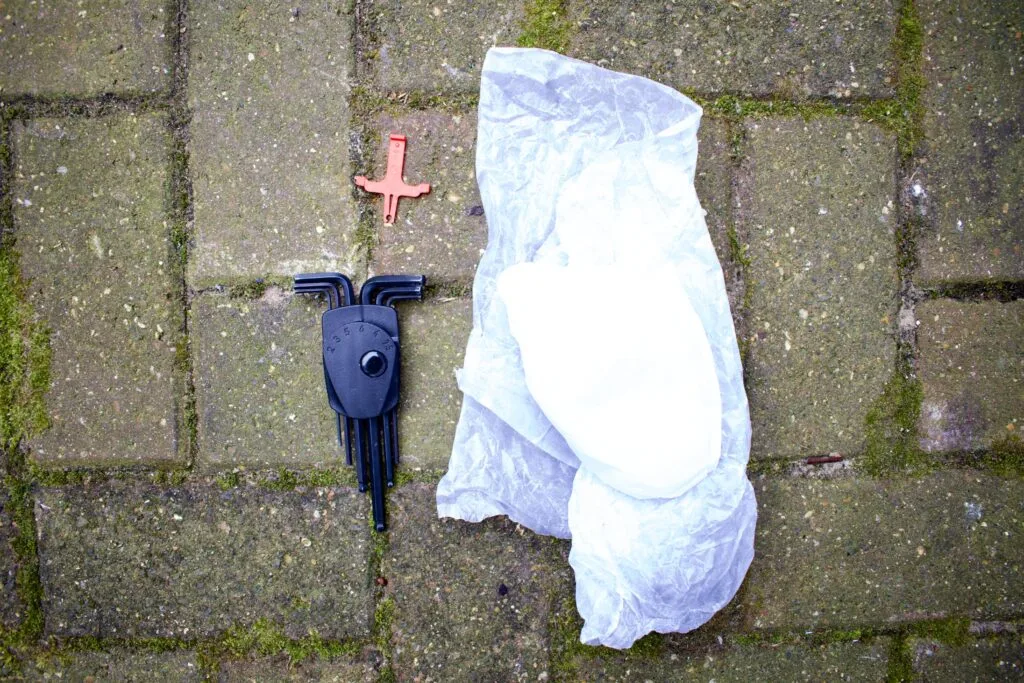
The equipment
- A carrying case like this one, this one or a homemade one
- A set of Allen keys, a multi-tool or a torque wrench
- One or two inserts for hydraulic disc brakes (your bike shop may be able to supply these free of charge)
- Protective gear: bubble wrap, rags, old cycling shorts…
1. Dismantling the bike
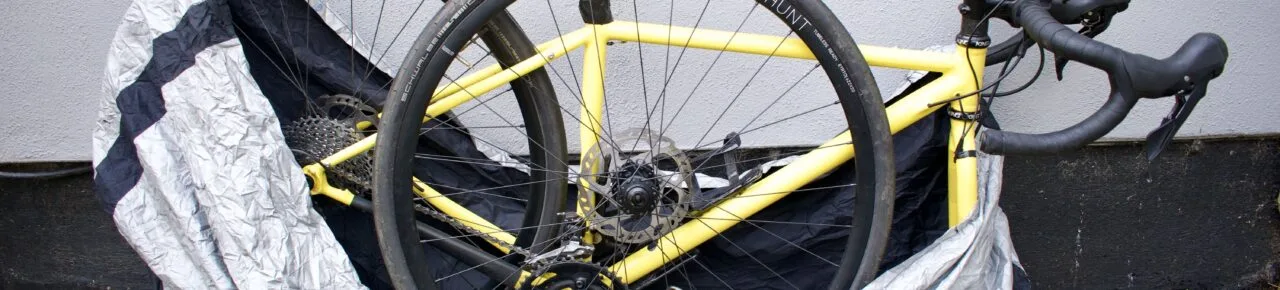
The maximum dimensions of a bike bag transported by train vary slightly from country to country, but are generally close to the SNCF’s 130 cm x 90 cm. The smaller your bike, the fewer parts you’ll need to dismantle to fit it into the bag.
The minimum:
- Remove the front wheel and fasten it to the frame. With hydraulic brakes, it’s best to fit an insert in the caliper to prevent it from closing in on itself.
- Move or remove accessories that protrude or could puncture a fragile cover, such as GoPro lights or brackets.
For larger bikes :
- Remove the front wheel and, if necessary, the rear wheel
- Remove the stem and hang the handlebars along the frame to prevent them from hanging over the brake and gear cables. Remember the height of the stem (number of spacers above and below) for the reassembly phase.
- Lower the saddle


A word of advice
Don’t leave small parts lying around in the bag. Put the quick-release back in the wheel or the thru axle in the fork, where they can’t be lost or forgotten. Lower the seatpost as far as it will go, but don’t remove it completely from the frame.
Comment soutenir La Sportive Outdoor?
L'une des façons de nous soutenir est de faire vos achats via nos sites partenaires.
L'idée n'est évidemment pas de vous pousser à la consommation: n'achetez que ce dont vous avez besoin mais, lorsque vous le faites, passer par nos liens nous aide car nous touchons ainsi une petite commission sans aucun coût supplémentaire pour vous.
Vous pouvez par exemple en ajouter certains en favoris pour vos prochains achats. Pensez à accepter les cookies de nos partenaires dès l’arrivée sur leur site.
- i-Run: jusqu'à -50% pour les Running Weeks
- Ekosport: -20% extra sur les nouveautés rando et bivouac
- Intersport: des offres sur la randonnée (notamment)
- Muule: 15% de promo avec le code VIP15
- Decathlon: pas mal de bons plans
- Lyophilisé&Co: lyophilisés, nutrition sportive et matos de bivouac
Pour plus de façons de nous soutenir, c'est ici.
2. Placement in the bag
Place the frame in the center of the cover, then insert the wheels along it. Turn the handlebars (if you haven’t removed them) to minimize the width. If necessary, secure everything with straps (or old inner tubes cut and knotted, very effective).
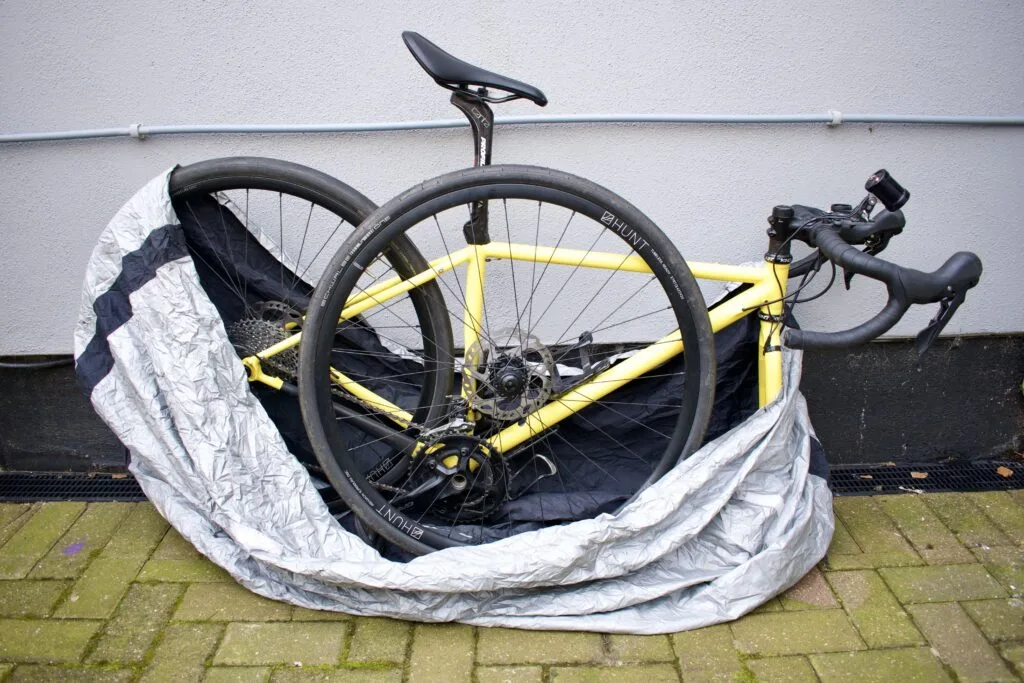
3. Component protection
Wrap at least the bottom of the fork and the discs with bubble wrap or cloth to prevent damage. Avoid leaving two metal parts in direct contact (e.g. rim and bottle cage).
What if I want to put the bike in a box for the plane?
If you’re looking to dismantle your bike and pack it away in a box, for example to take on a plane, the steps are the same. You’ll simply need to remove the pedals, deflate the tires and add padding to protect the frame and components.
4. Reassembly
Do all the steps in reverse, making sure to tighten the headset correctly if you’ve removed the stem.
Ready to roll (almost) everywhere!
By following these steps, you’ll be able to transport your bike safely and enjoy riding again as soon as you arrive at your destination. Practice at home to avoid stress at the station. With practice, I now count seven minutes watch in hand to put my bike in the bag. Good luck and enjoy the ride!