Dji Neo test – My opinion on this small drone for sports!

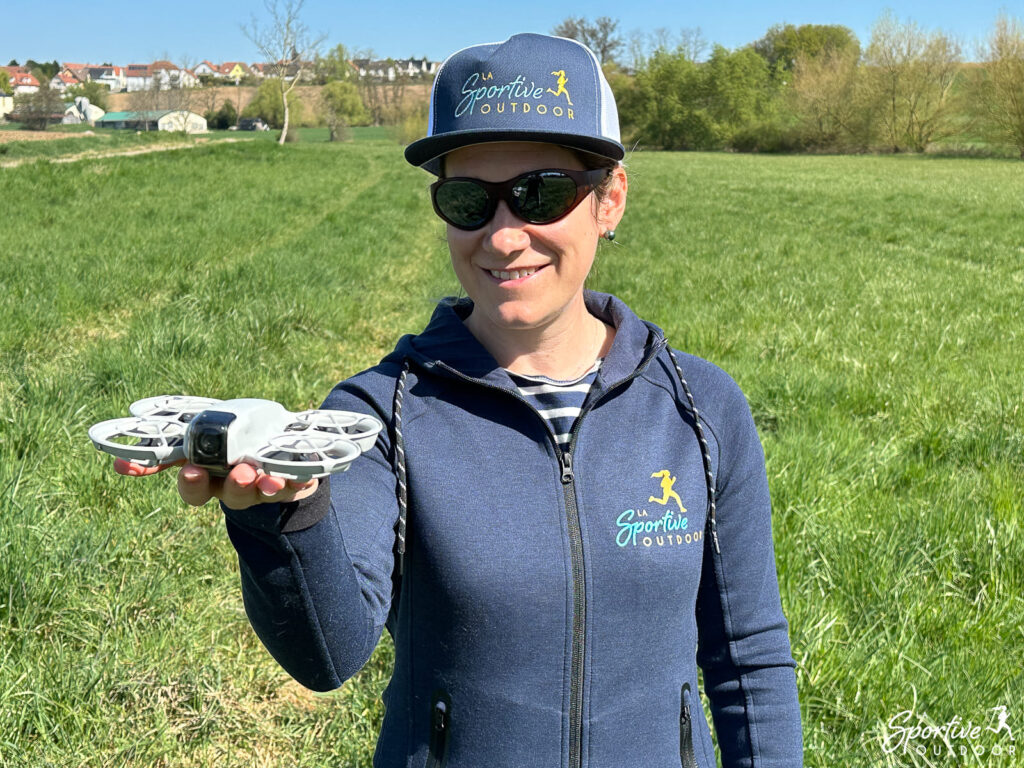
The DJI Neo is a lightweight, compact and affordable drone, aimed particularly at beginners. I've found it particularly appealing for sports use, for taking cool shots of certain outings: I'll give you my detailed opinion after testing it in various outdoor sports!
Test video summary
My summary
What I liked
- Portability: compact and lightweight, extremely easy to carry
- Smart shooting modes: great for beginners!
- Ease of use
- Take-off and landing from the palm of your hand
- Really nice image rendering for sports sessions
- Great value for money
What I liked less
- Lack of obstacle avoidance sensors
- Direction track” mode doesn’t work very well for sports use
- Very limited autonomy
- Noisy
How can the DJI Neo be used?
The DJI Neo is particularly well-suited to sports and outdoor enthusiasts who want to capture aerial images without heavy equipment or special training. Its ease of use and smart shooting modes make it a great tool for capturing moments on hikes, bike rides or trail sessions… All at a reasonable price.

Features
- Weight: 135 g
- Dimensions: 130×157×48.5 mm
- Sensor: 12 MP 1/2-inch CMOS
- Video: 4K at 30 fps / Full HD (1080p) up to 60 fps
- Autonomy: Approx. 18 minutes
- Internal storage: 22 GB
- Price: €199
The Dji brand
Founded in 2006 in Shenzhen, China, DJI (for Dà-Jiāng Innovations) is today a global benchmark in the field of civil drones and image stabilization technologies. DJI has made a major contribution to the democratization of drone use, offering models that are high-performance, compact and easy to use.
With a range from drones to sports cameras and smartphone stabilizers, the brand is well known among outdoor content creators, and I have to admit that their products have never disappointed me so far.
Our full review of the DJI Neo
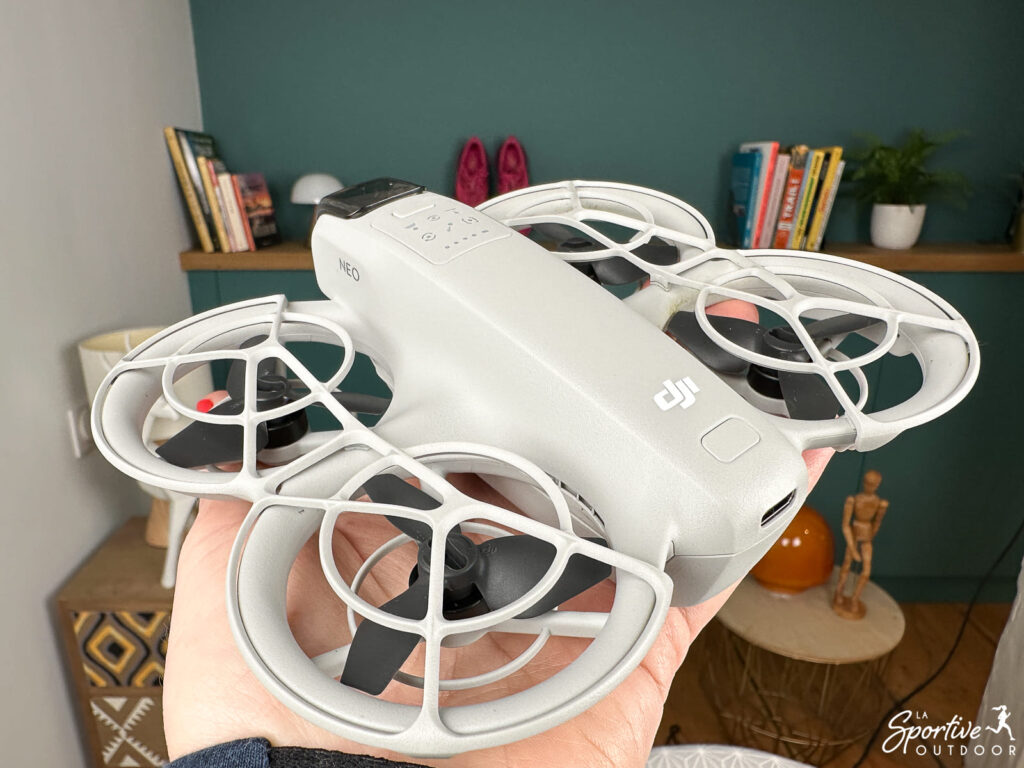
Design and ergonomics
In addition to its price, I have to say that what immediately appealed to me about the Dji Neo was its compact size and featherweight. “Oh, but I could easily slip it into my trail bag!” I thought to myself.
And indeed, having already done it several times, it fits in a small trail bag (yes, even a 3L as long as the back pocket is large enough!) and doesn’t make itself felt at all, whether running or cross-country skiing. It’s also easy enough to carry on the bike in a handlebar bag, for example. What’s more, the camera is protected by a cover. Particularly practical for sports use, then, as it slips in everywhere and is forgotten!


Control modes
The Dji Neo can be controlled in 5 different ways:
- All by yourself, by selecting intelligent shooting modes directly on the drone. Convenient but limited, especially as you don’t have access to all Quickshots or their parameters.
- With themobile app on your phone, which means always having the drone at a distance of max 50m (otherwise you lose the link). This is what I use all the time.
- With voice control, but this still implies a connection to the phone, since commands will be transmitted via the phone’s microphone. You can transmit them in English…or Mandarin! I never use it.
- With a remote control, which apparently allows a video transmission distance of 10km. I haven’t tested this, but it requires the purchase of a compatible radio control like the Dji RC-N3 (or the Fly More Bundle).
- With an FPV helmet (immersion flight, or 1st person flight). I haven’t tested this, as it involves buying a compatible headset like the Dji Goggles 3 (or the Motion Fly More Bundle).
Requirements for piloting the Dji Neo
Rated C0 (it says so on the label), the Dji Neo is a small drone that presents few dangers, so legislation is very flexible. You don’t need a pilot’s license; the only conditions to be met are the following:
- Respect authorized flight zones
- Always have the drone in your field of vision when in flight
- Do not fly above a height of 120 metres
- Do not fly over groups of people
- Registering with AlphaTango (very easy)
Smart shooting modes (QuickShots)
Here’s another thing that won me over with this drone: the intelligent shooting modes, called QuickShots, which are a bit like“drone for dummies” modes… which is exactly what I needed! Being a drone pilot is not something you can improvise: flying a drone well requires you to spend a bit of time on it, and I was looking for something fairly basic, to be able to illustrate a few sporting moments in a fun way, but without spending hours on it either. It’s really easy to use!
Here are the different modes available:
- Follow – The drone follows you. The rendering is really top-notch, and works great whether you’re running, cross-country skiing or cycling (well, don’t get carried away with the speed either!).
- Direction Track – The drone flies in reverse, facing you. This mode is THE mode that doesn’t work well in my opinion. I’ve tested it several times while running or cycling, and there’s always a moment when the drone goes completely sideways (and quite far at times – it’s better not to have obstacles!), or even loses me altogether. After that, the rendering is often very nice, but you can’t expect it to keep you centered in front of it…
- Dronie – The drone gradually moves backwards and upwards, keeping you in frame. Wow effect (almost) guaranteed!
- Circle – The drone circles around you at a constant altitude. This creates a smooth, flowing circular plane!
- Rocket– The drone quickly climbs vertically while keeping the camera pointed at you. Nice, but it doesn’t go very high either, so it really depends on the environment, and may not render very well compared to an equivalent shot done manually.
- Spotlight – This mode locks the camera on you while adjusting the camera’s orientation and tilt according to your movements. Handy for filming yourself talking, but there’s still the problem of poor sound (see below).
- Spiral – The drone spirals upwards around the subject, creating a dynamic winding effect. A nice touch!
- Boomerang – The drone arcs away from the subject and then returns, like a boomerang. Fun!
You can switch from one mode to another directly via a button on the drone or via the app. You may notice that there are 8 custom modes, whereas on the drone there are only 6 icons allowing you to choose 6 different modes. In fact, the “little man” icon is a custom mode which, once on the app, lets you choose the Spiral, Boomerang and Direction Track modes. The last saved mode then becomes accessible via this icon for future use. Not exactly practical, but you get the hang of it!
In the application, you can choose different parameters for each mode: a tracking distance closer or further from the subject, a low, horizontal or slightly higher altitude, a video or photo mode, etc… This is handy for adjusting the rendering you want, even if you shouldn’t expect any crazy differences depending on the settings (there are some, but they’re fairly limited, so don’t expect a very high altitude and a very “vertical” rendering, for example).


Manual mode
It’s also possible to fly the drone manually: just select manual mode, and off you go! It’s very useful too.
Take-off and landing
The DJI Neo takes off and lands from the palm of your hand. There’s no fear of being hurt by its propellers, since they’re protected. It’s weird at first (I find it almost magical to see it land when you put your hand underneath!), but it turns out to be ultra-practical. There’s no need to look for a flat surface to launch it from, and it can take off and land just about anywhere. It’s very easy to use.


In-flight performance
Despite its small size, the DJI Neo’s in-flight stability is really appreciable in calm conditions: images are well stabilized and the rendering is really nice for sports use. However, due to its light weight, it is also sensitive to wind, so you’ll want to avoid launching it in windy conditions (having tested it, it’s a real pain).
And beware of obstacles: the Dji Neo has no obstacle-avoidance sensors (a pity, but at this price, you can’t ask too much!). You therefore need to be
Another thing to consider if you take it off on a slope: if you make it turn around you, there’s a good chance it’ll hit the ground at some point, as it doesn’t know where the ground is and remains at a stable height… Yes, it sounds silly, but it’s good to remember 😉
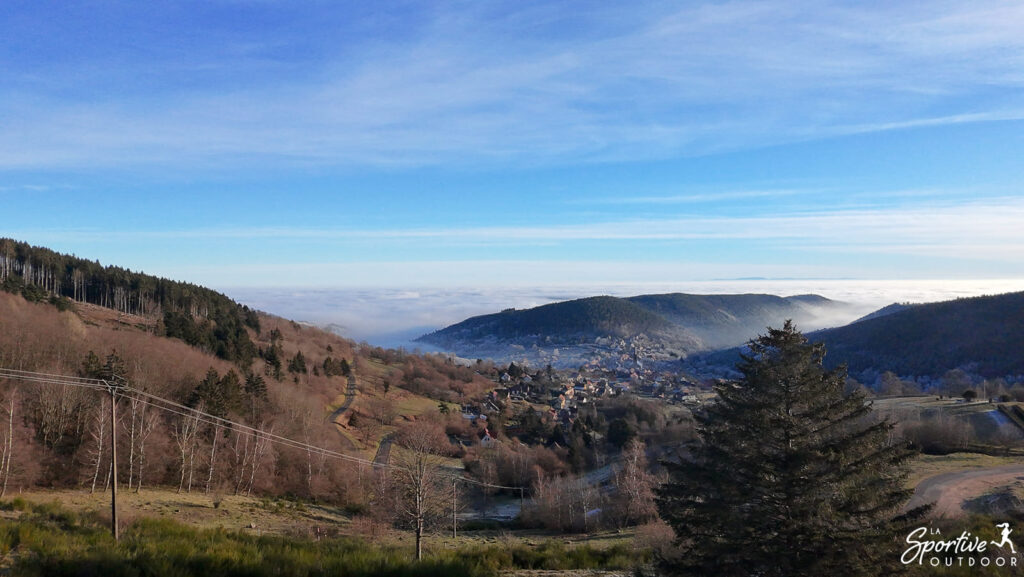
Image quality
Equipped with a 1/2-inch CMOS sensor, the DJI Neo can capture videos in 4K at 30 fps or 1080 up to 60fps and 12 MP photos. I find the very satisfactory image quality for my use (social networking, website and personal souvenirs)). I wasn’t expecting this much to be honest, although of course there are better things out there in terms of quality (but not at this price!) and it gets complicated in low-light conditions due to the limited size of the sensor. Go to the video above to see the rendering, and below three photos.


Audio recording
Sound can be recorded either via the smartphone’s microphone or via an external microphone connected to the smartphone (a Dji Mic or Dji Mic Mini , for example). Given the noise of the drone, you can imagine that this is a bit complicated at first sight, so the sound of the file is reprocessed by an AI to remove the drone’s background noise. The idea is commendable, but in reality, the result isn’t great. Firstly, because it’s hard to force yourself not to scream to cover up the drone’s noise (!), secondly, because there are regular audio/video synchronization problems , but above all, because the reprocessing is rather coarse and therefore doesn’t generate good quality sound.
I tested it during my test of the Osprey Dyna 6 trail bag with my Dji Mic 2: you can see the result in the video below (on the static outdoor shots, you’ll quickly see the difference with the shots where I’m running, where I’m filming with my Osmo Pocket 3 camera and the same mic), bearing in mind that I reprocessed the sound to achieve this slightly “cleaner” but still not great result. I didn’t manage to do any better: well, at the same time, I don’t know much about it, but the basic idea isn’t to be a sound engineer to use this feature 😉
Autonomy
With an autonomy of around 18 minutes per battery, the DJI Neo can only be used for very short flying sessions, especially as this autonomy is quickly reduced if there’s a bit of wind or if you make it do a lot of accelerations. It is possible, however, to purchase additional batteries to extend flight time on longer outings.
Where are we allowed to fly?
You can’ t fly a drone everywhere. Some places are strictly forbidden, such as cities, air corridors, nature protection zones… To make sure you don’t unintentionally take off your drone in a prohibited zone, I recommend the following for France:
- consult the Géoportail website or
- download the IGN Maps application (handy for real-time geolocation), on which you’ll clearly see the prohibited zones and restrictions that apply by selecting the “UAS open category and aeromodelling restrictions” layer.
The Dji Mobile app also provides data, but I don’t always understand what it’s telling me (!) so I find the IGN app much more understandable, plus it has the advantage of being the official source!
Image storage and transfer
The Dji neo has an internal memory of 22GB only: there’s no possibility of inserting an SD card. That said, it’s more than enough (around 40 minutes of 4K video). Images can be transferred via the smartphone (QuickTransfert mode works well) or by connecting it via cable to a computer.
Connection
The drone connects easily to the phone via Wifi: I’ve never had any problems.
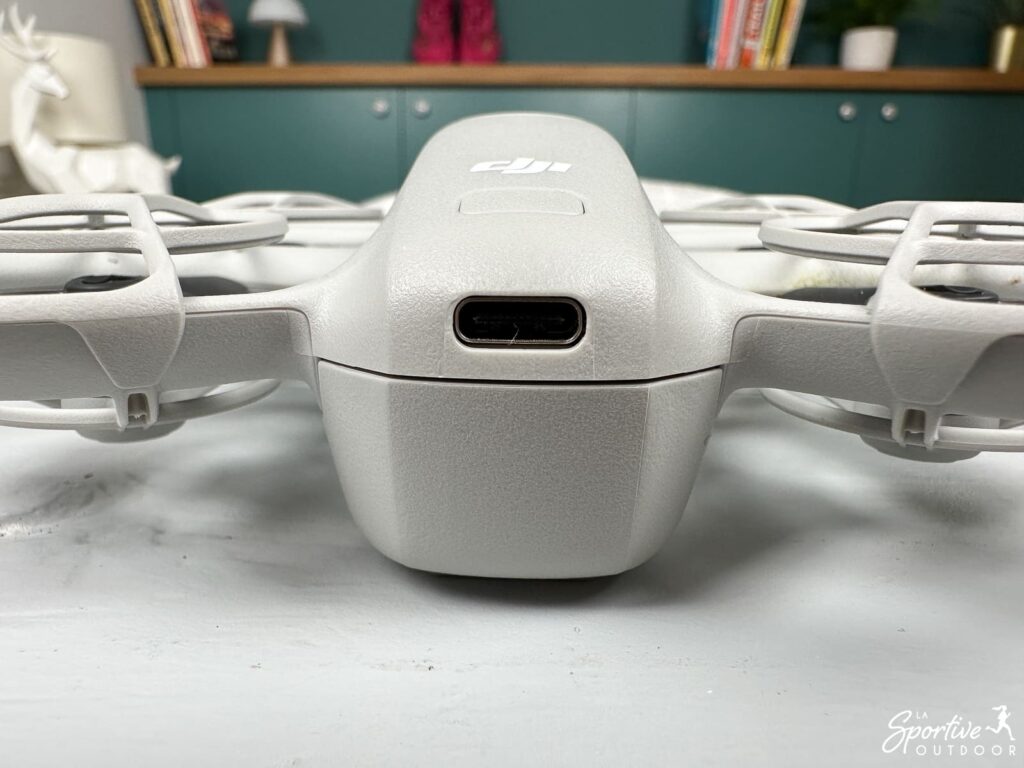
Refill
Recharging is via USB-C. It takes around 1 hour to fully charge the battery.
Conclusion
The DJI Neo stands out for its compactness, ease of use and smart features, making it ideal for outdoor enthusiasts who want to capture aerial images without the burden of heavy equipment. Despite its limited battery life and lack of obstacle avoidance sensors, it offers excellent value for money for beginners and sports enthusiasts alike!
Le produit nous été envoyé par la marque. Cela ne change rien à notre opinion, les marques avec lesquelles nous travaillons comprennent que l’idée du test est de donner notre avis, avec ses points positifs et négatifs.
Cet article contient des liens d’affiliation. En tant que Partenaire Amazon, je réalise un bénéfice sur les achats remplissant les conditions requises.